
Avail Instant Technical Help From My Latest Blog Posts
Subscribe my blog to get instant technical troubleshooting help from my blog posts. Visit our official website for more details about verified contact details and numbers.
|
Are you a tech enthusiast always seeking the latest updates on operating systems, gaming, streaming, social media, and more? Look no further than HelpContact247, your ultimate one-stop destination for insightful blogs covering a wide range of tech-related topics. From hardware and software to electronic devices like printers and routers, we've got you covered.  Exploring Operating Systems
Operating Systems are the backbone of any computer, and staying up-to-date with their latest features and updates is crucial. At HelpContact247, we delve deep into the world of operating systems, providing you with valuable insights and how-to for popular systems like Windows, macOS, Linux, and more. Whether you're a novice or an advanced user, our blogs cater to all levels of expertise. Gaming and Entertainment Gaming enthusiasts, rejoice! We bring you the latest in gaming news, reviews, and tips to enhance your gaming experience. Our experts share their thoughts on new releases, hardware, and gaming strategies. From PC gaming to console gaming and mobile gaming, we cover it all. Discover hidden gems, stay informed about upcoming titles, and master your favorite games with HelpContact247. Streaming and Social Media In today's digital age, Streaming and Social media have become integral parts of our lives. Our blogs offer valuable insights into popular streaming platforms like Netflix, Amazon Prime Video, and Hulu. Additionally, we provide tips and tricks to help you grow your social media presence and connect with your audience effectively. Tech News and Updates Stay informed about the ever-evolving tech landscape with our daily dose of tech news and updates. We cover the latest trends, product launches, and innovations in the world of technology. Whether it's a new smartphone, a breakthrough in AI, or a game-changing software update, you'll find it all at HelpContact247. Electronic Devices: Printers, Routers, and More Electronic devices like printers and routers are essential for modern life, but they can be complex to set up and maintain. Our step-by-step guides and troubleshooting tips make it easy for you to get the most out of your devices. Say goodbye to connectivity issues and hello to seamless browsing and printing. Computers: Hardware and Software From choosing the right components for your custom-built PC to optimizing your software for peak performance. HelpContact247 covers every aspect of computer and laptops hardware and software. Our comprehensive guides and tutorials empower you to make informed decisions and keep your system running smoothly. Online Services In an era where online services have transformed the way we work and communicate, understanding and utilizing them efficiently is essential. Our blogs explore popular online services, such as cloud storage, email platforms, and collaboration tools, ensuring you make the most of these powerful resources. At HelpContact247, our mission is to empower you with knowledge and insights that enhance your tech-savvy journey. Whether you're a student, a professional, or simply a tech enthusiast, our blog website is your go-to resource for staying ahead in the ever-evolving world of technology. Don't miss out on our regular updates, in-depth articles, and expert advice. Subscribe to HelpContact247 today and embark on a journey of tech discovery. Join our vibrant community of tech enthusiasts, and together, let's explore the limitless possibilities of the digital age. Welcome to HelpContact247, where tech knowledge meets practicality!
0 Comments
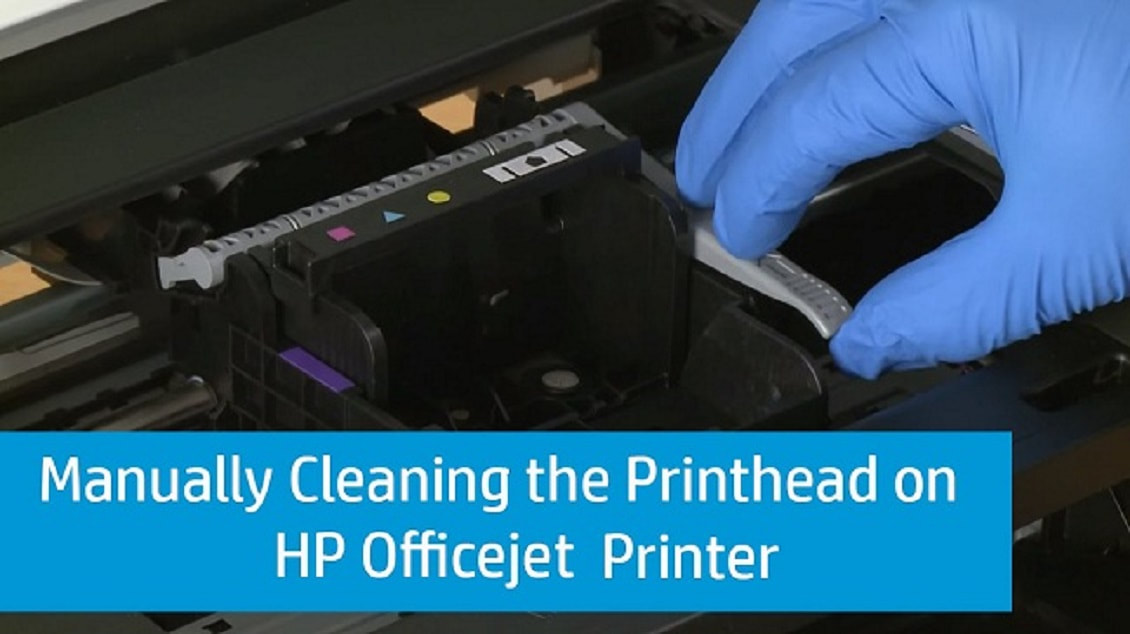 If you have faced that your HP printer is not printing because of blockages around the printhead. Clients working with HP Officejet Pro 6830, and 6835 series printers often encounter this problem with the printhead. From our report, you will learn to grasp the logic behind the HP Officejet pro 6830 problems with the printhead. Moreover, we present two resolutions to solve the HP Officejet Pro 6830 printhead error.
Logic After the Printhead Error on HP Officejet Pro 6830, 6835
Resolutions to Solve Problem with Printhead on HP 6830, 6835 printers Clean Printhead on HP Officejet Pro 6830 Printers
Printhead Replacement for HP Officejet Pro 6830 The HP Officejet Pro 6830 printhead cleaning is an automatic method to clean the printhead. This technique is quite useful and frequently blockages can be resolved by this. For further positive outcomes, you can drive the method twice or thrice. If the problem with the printhead on HP 6835 does not become settled then you are required to replace the cartridges. Don’t be deceived by the above-discussed error and error code 0xc19a0003. Therefore, proceed with the link to resolve HP printer error code 0xc19a0003. 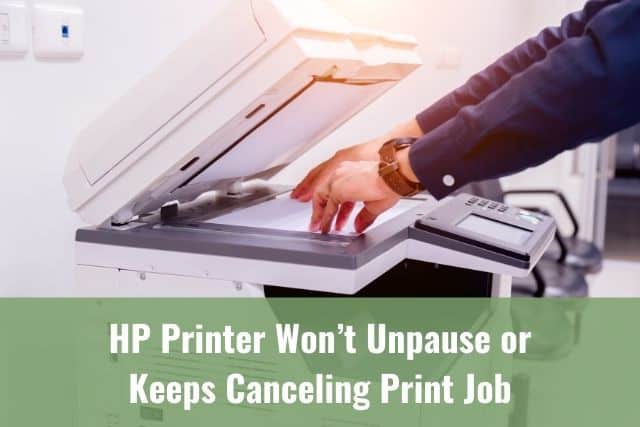 Sometimes we unjustly send two print jobs from our HP printer. So, learn how do I cancel printing jobs on HP printers on Windows 10 computers, Mac, iPhone, and iPad quickly. The print job cancellation helps us to save money, time, and paper.
Top Solutions for How to Cancel a Print Job on HP Printer & Windows 10 Solution-1 Cancel Print Job from Printer's Control Panel
NOTE: Constantly discover that you are simply worthy of canceling print jobs from your Android mobile device which you used to send print jobs.
Learn how to cancel the print queue on Windows 10 devices. NOTE: Always remember that you can just cancel the print job from the computer that you practiced to send the print command.
Solution-4 How to Cancel print job on HP Printer via Apple iPhone or iPad Learn how you can cancel the print job from the print queue on an iPhone or iPad.
 Whenever we install or align new ink cartridges or printheads for the printer, an HP Printer Alignment Failed error may occur. Furthermore, “printer alignment unsuccessful” errors might occur due to the improper installation of cartridges or printheads.
Best Methods to Solve HP Printer Alignment Unsuccessful Error Message Fix-1 Reset HP Printer
If resetting the HP Printer is inadequate to solve the problem, then proceed to the next action. Fix-2 Clean HP Printer Ink Cartridge and Printhead Manually If the HP Printer device is inefficient to print black or colored ink or print blank pages, it means printer alignment failed occurred. Here we are sharing the actions to clean the printhead manually to fix the problem.
Fix-3 Automated Printhead Cleaning Process Yes, you perform an Automated Printhead Cleaning process while HP printer alignment unsuccessful errors occur.
Fix-4 Use Genuine Ink Cartridges to Fix HP Printer Alignment Failed Issue HP recommends using original HP ink or toner supplies for the printer. Because it includes the guarantee and reliability of the goods. Using non-HP or refilled cartridges may result in an HP printer alignment failed or unsuccessful message. You can verify the authenticity of the ink cartridge by scanning the QR code on the toner/ink cartridge case. Read More: What is HP fuser error 50.2 mean HP Envy 4510 e-all-in-one printer troubleshooting How to do HP Officejet Pro 9020 printer wireless setup How to fix HP Envy 5540 attention required HP Officejet Pro 9020 all-in-one printer troubleshooting How can I connect my hp printer to wifi network
Are you literally annoyed with getting those pop-up windows in your HP computers and are looking for a serious remedy for a peaceful working mode? Then we will provide all possible quick and easy solutions to block pop-up windows. Is there a way to block those pop-up windows?Yes, the web browser has ad-blocking features that let you set up the filters based on your preferences. As per your choice of ad pop-up blocking software programs the capacity and the capability towards the ad blockage varies. Utilizing an ad blocker can help you with
Solutions to block pop-up advertisementsSolutions that you can perform to block those unwanted ads and get back your peaceful working time. How to eliminate those pop-ups from Internet Explorer?Internet Explorer has a pop-up blocker feature that lets you block or limit most of the scam ads. The pop-up blocker feature has a filter facility that lets you choose the frequency as well as the types of pop-ups like blocking every one of them or a particular of them alone. When you turn on the pop-up blocker feature, the information bar of the browser displays a message called Pop-up blocked to see this pop-up or additional options click here.
How to filter and block the required websites from unwanted websites in Internet Explorer?As you know not every pop-ups are harmful and annoying some of them have real information for us. In that case, you can choose to filter some of the ads to display and others to get blocked. To do so, please follow the below steps
Can I block those unwanted Pop-ups in Firefox or Chrome?
How can I safely close those advertisements?
Is there any way to block pop-ups in Microsoft Edge?Microsoft Edge has a built-in feature that effectively cuts off those pop-ups from entering the browser.
Ok, I have turned on those pop-up blockers and still receiving those ads, why?Because there is a high possibility of your system being infected by spyware and adware. For blocking those ads, you have to clearly identify the software that is displaying those unwanted ads and remove them. Or if the software program is needed, you can adjust the settings of the program to prevent any unwanted or scan pop-up ads being displayed. Always remember not every ad pop-ups are dangerous. Some of businesses use them efficiently to lets us know about important updates with their service or offers. They want us never to miss them. On the other hand, a lot of them are just annoying, fake, and suspicious ones stealing away our personal data. So as a user, we must have good knowledge to separate good from bad and you can choose to block any notifications from a particular site as long as you get that confidence over such a website. We hope this article helps you get over the advertisement issue and help you block pop-up advertisements in a seamless way. For more information and details on the pop-up advertisements, please contact HP customer service executives to get more professional solutions. Frequently asked questions
Did you experience hard time to connect hp printer to Wi-Fi network? There are several reason exist some of them may be of your printer might be in a sleep mode, unstable network connection or an irrelevant printer setup or any hardware issue. Whatever might be the culprit, we are here to solve your problem and help you connect with your printer with ease. In the course of the journey, you might know how to find HP printer wifi password to make the wireless connection. In this article, we will discuss the every available option that describes getting the Wi-Fi PIN to establish a seamless connection between your system and the printer. The number of ways available to get the wireless network password or PIN to connect an HP printer: 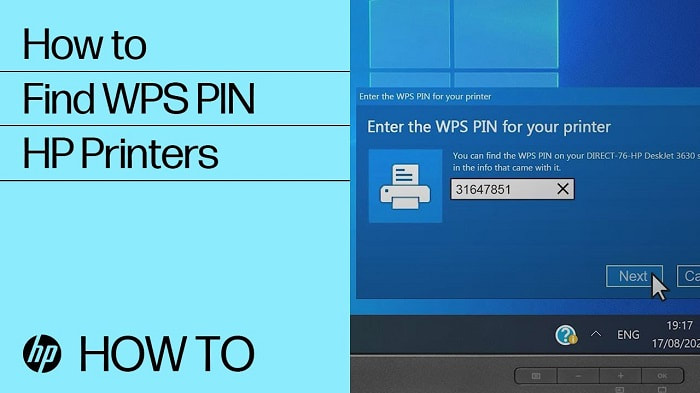 Solution 1: steps to find the wireless network password from iOS and iPad OS
Solution 2: steps to find the wireless network password from Android
Solution 3: steps to find the wireless network password from macOS
Solution 4: steps to find the wireless network password from Windows
Solution 5: steps to find the wireless network password from the router
Troubleshooting printer reconnection with recent password change: Once you have changed the network or your router password, it is necessary to change those credentials also.
Read more:
Are you one of the users struggling for HP Tango printer setup for the first time? Fret not, we got your back with this article. In this article, we will cover end-to-end setup installation steps and guidelines in a user-friendly manner for you to follow easily. Ready to learn more, read along with us  General instruction before starting with the HP Tango printer setup process:
Prepare for the wireless connection setup with your Hp tango printer:
HP Tango printer network connection setup: There are number of methods available for the HP Tango to establish a wireless connection with your device. We will explain some of the few that could help you with your situation. Option 1: Establish a wireless connection with Wi-Fi Direct When you don’t have local Wi-Fi network available, you can opt for Wi-Fi Direct.
Option 2: Establish a wireless connection with HP Smart app on windows
Option 3: Establish a wireless connection with HP Smart app on Android
Many of the HP printer user experiencing black or color ink printing issues from little to no ink on the printed paper. In such case we have to explore the reason for the issue to eliminate the hp printer not printing black issue now and in the future too. Follow the below description for a detailed insight on the reason along with the easy to follow instructions. 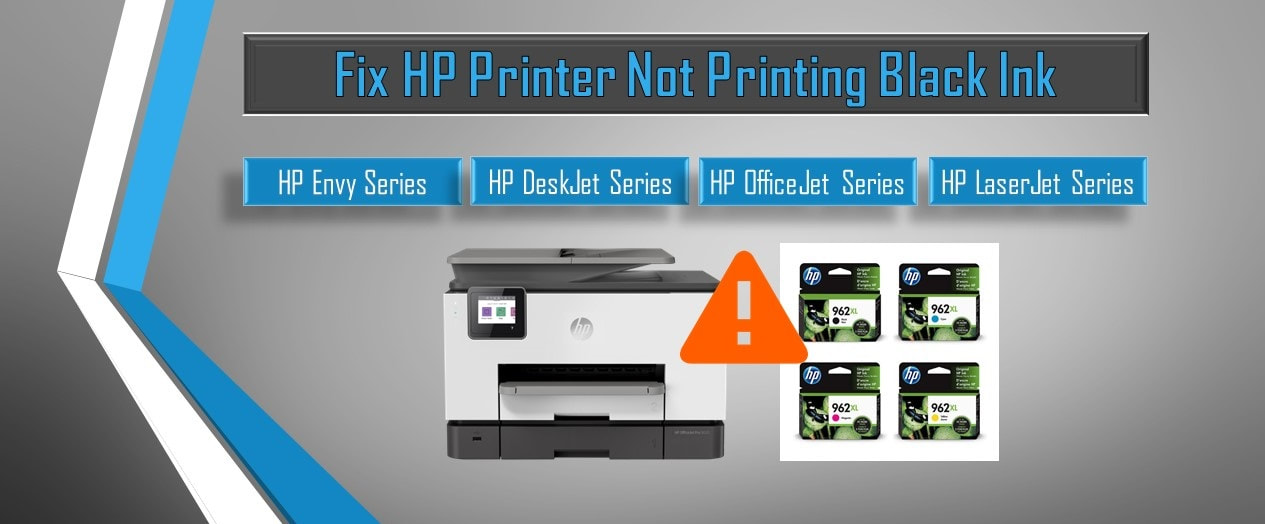 Common reasons for not printing black ink
Always use genuine HP ink cartridges Make sure that you are having enough ink in the cartridges
Identify the damaged ink cartridges To identify the damaged ink cartridge you have to print the print head test page. Then analyze the quality of the print. From that you can identify the damaged ink cartridges. Replace the empty or the damaged ink cartridges If you find that your cartridges are damaged follow the below steps to remove them
Try cleaning the print head Cleaning the print head can help you resolve the clogged print head issue. For that follow the below steps:
Read more:
Looking for an app to proceed for how to connect hp printer to wifi network, you will need to know about this HP Smart app. Further, this app allows to print, scan and share file from anywhere at any time. Read along to know about many cool feature of this app with simple and effective instructions with us.  Benefits of having HP smart app:
Installing HP smart app in the device you are going to print from lets you print, scan and fax from anywhere. General requirements for the HP smart app:
Diagnose and fix:
|
Author - Amelia SampsonI am Amelia Sampson from Texas, USA. I am an independently working lady with Marketing Executive Profile at HelpContact247. Archives
October 2023
Categories |
 RSS Feed
